![]() Tal como no ano passado, decidi publicar um circuito para o halloween.
Tal como no ano passado, decidi publicar um circuito para o halloween.
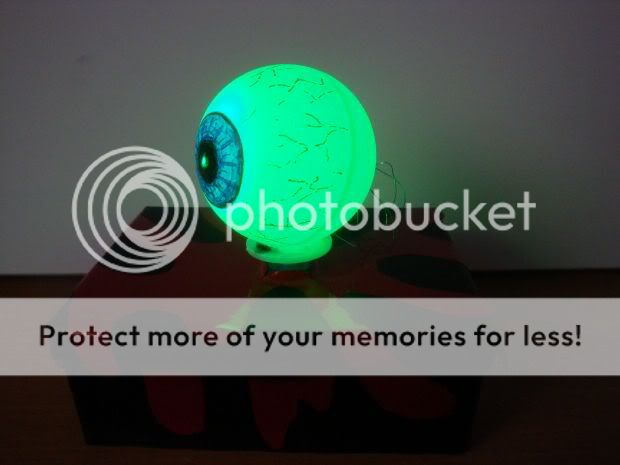
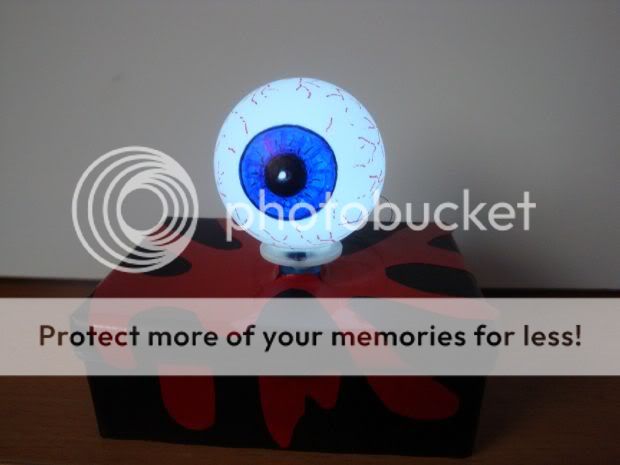
Trata-se de um pequeno olho que muda de cor e parece ter vida propria pois vira-se em várias direcções.
É muito simples de construir e qualquer um em casa o pode fazer facilmente.
Vou descrever a construção e no final da pagina podem fazer o download do programa para programar o microcontrolador.
![]() Just like last year, i've decided to publish a circuit for halloween.
Just like last year, i've decided to publish a circuit for halloween.
This one is a small eye that changes color and looks like it has life of it's own because it turns left and right.
It's very simple to build and anyone can make one at home very easily.
I will describe the building steps and at the bottom of this page it's possible to download the hex file to program the microcontroller.
Os materiais necessários são:
The materials needed are:
x1 Bola de pingpong
x1 micro servo 9g
x1 microcontrolador 12F683
x1 led RGB de alto brilho 5mm
x1 led branco "flat top" de alto brilho 5mm
x1 condensador de 1uF
x2 resistencias de 1Kohm
x1 breadboard
varios fios
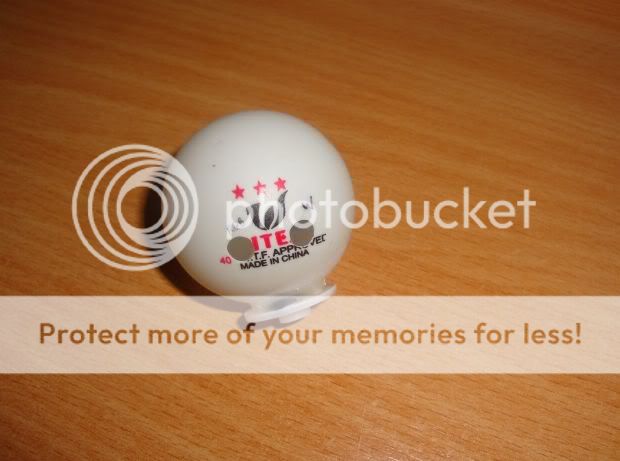
Começa-se por pegar numa bola de pingpong e fazem-se 2 furos de 5mm.
Convém fazer o furo que será para o led RGB o mais centrado possivel ( na parte traseira da bola ) enquanto que o furo para o led branco pode ser um pouco mais ao lado.
Na parte de baixo cola-se o "servo wheel". Será esta peça que encaixará no servo ( fig. 1 ).
We start with making two 5mm holes on the pingpong ball.
It's better that the hole for the RGB led is at the center ( on the backside of the ball ) while the hole for the white flat led is next to it.
On the bottom we must glue the servo wheel. This peace will attach to the servo ( fig. 1 ).
( Fig. 1 )
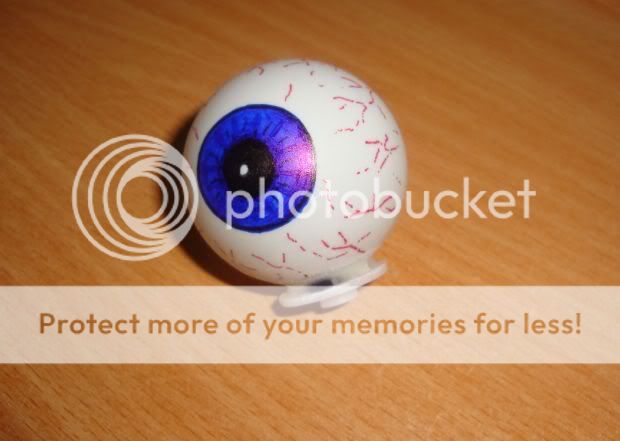
Depois basta um pouco de creatividade e paciência para desenhar um olho naquela que será a face frontal da bola de pingpong.
Esta tarefa deixei para a minha "cara-metade". Ela gosta de pintar e desta forma pintou o olho e ficou espetacular ( fig. 2 ).
Next we just need a bit of creativity and pacience and draw an eye on the front side of the pingpong ball.
For this task i let my wife to do it. She likes to paint and this way she drew the eye and the result was awsome ( fig. 2 ).
( Fig. 2 )
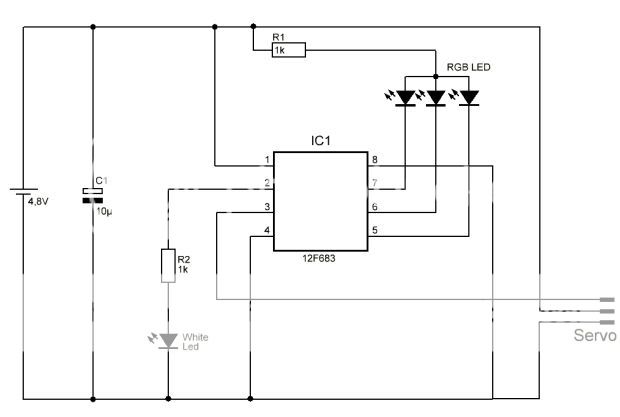
O circuito foi montado numa breadboard pequena. Como o circuito é bastante simples resolvi mantê-lo neste formato.
A quantidade de componentes electronicos é bastante reduzida fazendo com que qualquer pessoa o consiga construir em pouco tempo. Para alimentar o circuito usei 4 pilhas recarregáveis AA totalizando 4,8V ( fig. 3 )
The circuit was assembled on a small breadboard. Because it's a very simple circuit i've decided to keep it that way.
The amount of electronic components is very small making possible for anyone to build it very quickly. To power the circuit i've decided to use 4 rechargeable AA batteries in a total of 4,8V ( fig. 3 ).
( Fig. 3 )
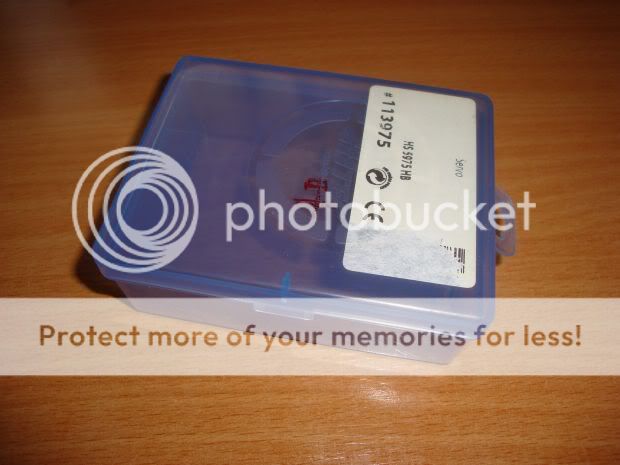
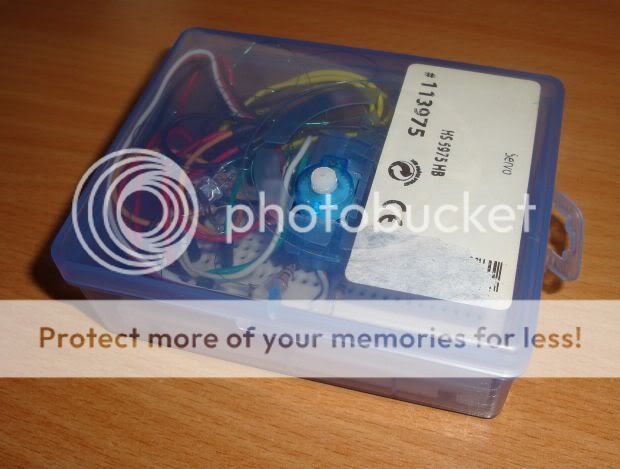
Para a caixa usei uma de um servo Hitec HS5975HB que tinha por casa. Fiz as marcações de onde ficaria o servo e recortei ( fig. 4 ).
For the box, i used a box that came with a Hitec HS5975HB servo. Marked and cutted were the servo goes through ( fig. 4 ).
( Fig. 4 )
Depois de recortada coloquei a breadboard que coube na perfeição, mesmo com o micro servo por cima da breadboard ficou na posição ideal ( fig. 5 ).
After the box cutted i've placed the breadboard inside and it fits like a charm, even with the micro servo over the breadboard it stays in the perfect place ( fig. 5 ).
( Fig. 5 )
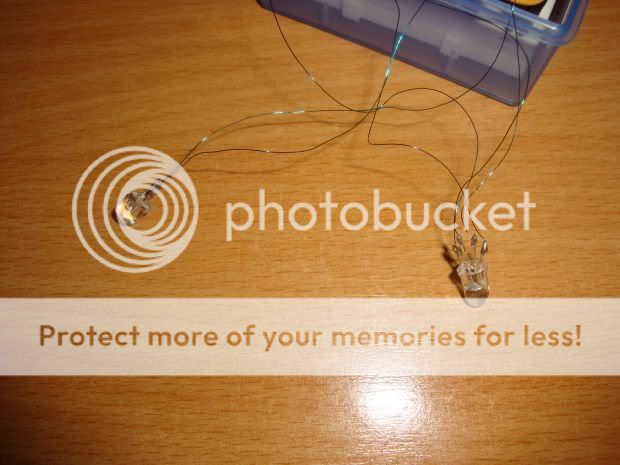
Os leds foram soldados com fios esmaltados de 0.05mm e dão a ilusão do nervo optico ramificado ( fig. 6 ).
The Leds were soldered using very small wires ( 0.05mm ) and give the ilusion of a shredded optic nerve ( fig. 6 ).
( Fig. 6 )
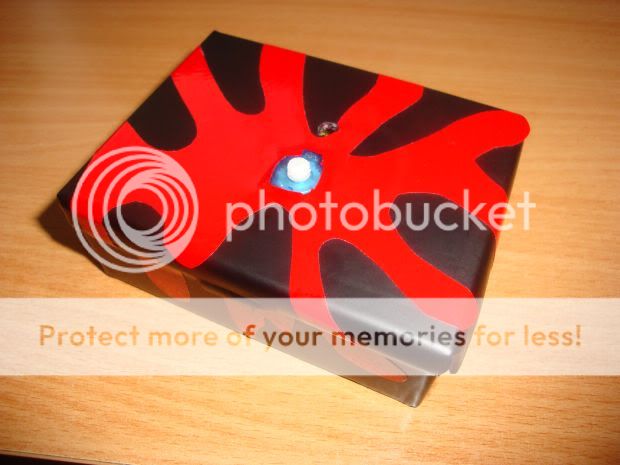
A caixa foi então decorada com vinil autocolante. Primeiro forrada a vinil preto e depois decorada com vinil vermelho.
Mais uma vez deixei esta tarefa para a minha "cara-metade" ( fig. 7 ).
To give a special look to the box i used vinyl sheets. First i covered the box with black vinyl and then used red vinyl to give a bloody effect.
Once again my wife tooked the job to decorate the box ( fig. 7 ).
( Fig. 7 )
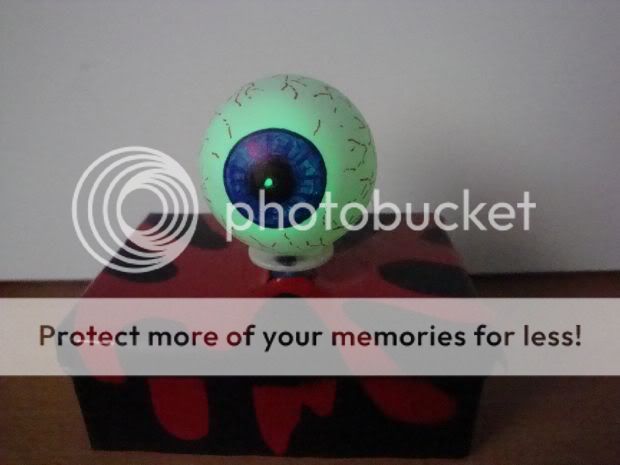
Eis o aspecto final. O led RGB permite-lhe obter várias cores. Aqui ficam algumas fotos do resultado final.
Here's the final look. The RGB led makes the eye output several colors. Here are some pictures of the finished project.
Aqui fica um pequeno video do "olho demoníaco" em funcionamento.
And here's a small video of the Evil eye working.
Podem fazer o download do ficheiro Hex aqui:
Here you can download the hex file:
.


