![]() O projecto desta semana teria sido muito útil quando era pequenito e brincava com carrinhos mas é destinado a pequenas maquetas e modelismo.
O projecto desta semana teria sido muito útil quando era pequenito e brincava com carrinhos mas é destinado a pequenas maquetas e modelismo.
Este sistema de semáforos baseia-se nos reais que se encontram nas estradas portuguesas.
Além dos semáforos para os automoveis inclui também os semaforos para os peões sem esquecer os botões para os peões carregarem.
O microcontrolador utilizado foi o 16F88 e praticamente todos os pinos foram utilizados. Existe um terceiro botão para entrar no modo de manutenção fazendo os semaforos piscarem as luzes amarelas até que um dos botões dos peões seja premido.
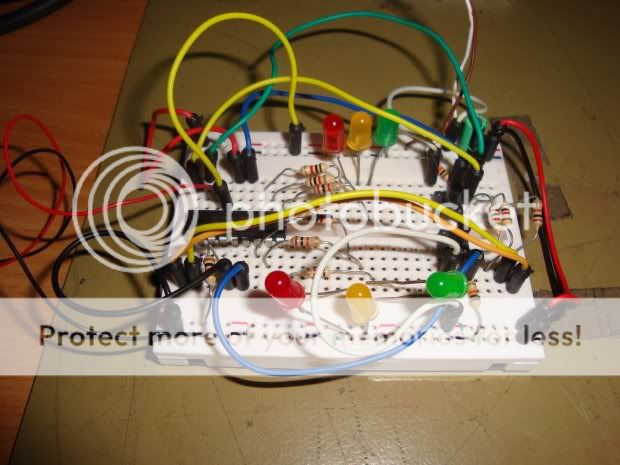
Os primeiros ensaios foram feitos numa placa experimental.
![]() This week project would have been very useful when i was little and played with cars but is intended for small models and modeling.
This week project would have been very useful when i was little and played with cars but is intended for small models and modeling.
A simulação foi feita no software Proteus. Para a simulação não me preocupei com componentes secundários como condensadores e resistências pois o objectivo era apenas testar o código do microcontrolador.
Aqui fica um pequeno video que inclui a simulação.
The simulation was done in Proteus software. For the simulation i did not bother with secondary components such as capacitors and resistors because the aim was just to test the microcontroller code.
Here is a small video that includes the simulation.
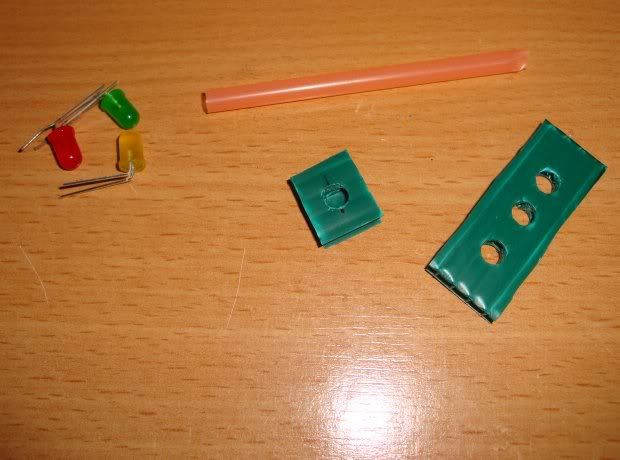
Depois de todos os ensaios concluidos, passei á construção dos semáforos. Além dos leds de 5mm coloridos, recortei placa cartonada e palhinhas de plastico.
After concluded all the tests, i started to build the traffic lights. I used some 5mm LEDs, carton board and plastic straws.
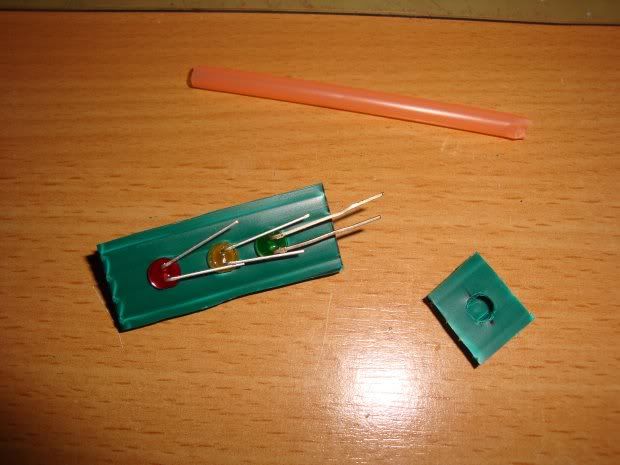
As plaquinhas foram perfuradas e os leds foram colocados. Os pernos negativos dos leds são soldados juntos pois ficam com a massa comum.
The led panels were drilled and the LEDs were placed. The LEDs cathode pins are soldered together since they all connect to the ground.
Os pernos dos leds são cortados excepto os do led verde pois vão servir para segurar a plaquinha á palhinha.
All led pins are cutted short except for the green one because it will help to hold the straw in place.
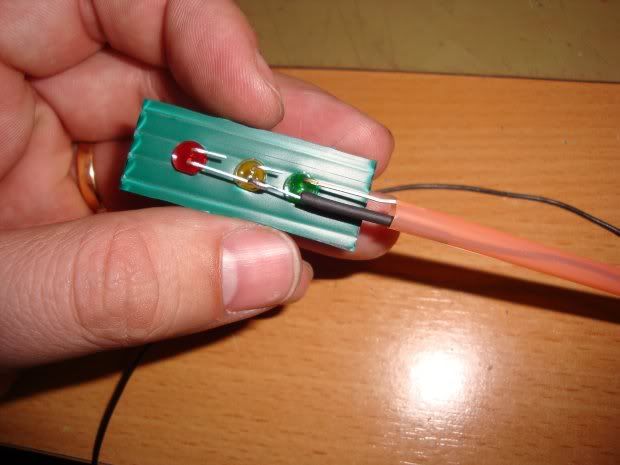
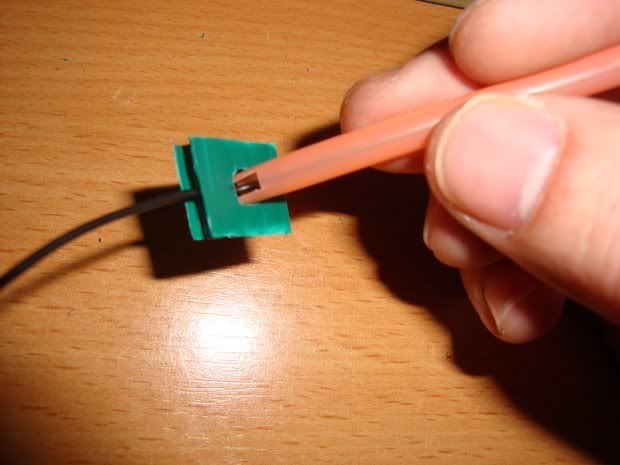
Os fios ficam escondidos por dentro da palhinha. Na foto abaixo ve-se o pormenor da base e da passagem dos fios.
The wires and held inside the straw. The picture bellow shows the detail of the base and the wires going through.
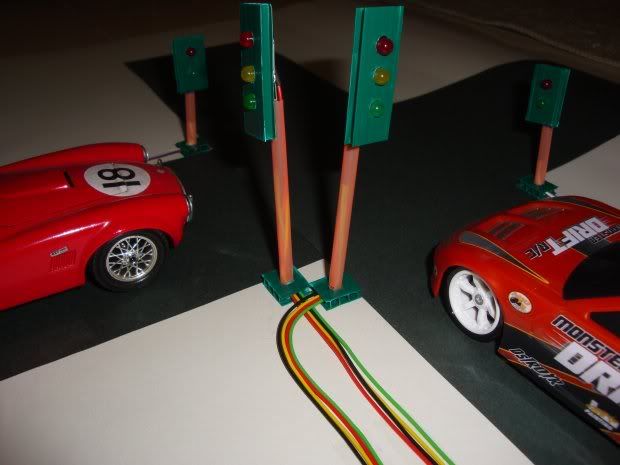
Depois de todos os semáforos construidos, fez-se um pequeno cruzamento em cartolina e colocou-se os semáforos. Na foto abaixo ve-se o sistema concluido, apesar de ainda estar montado numa placa experimental.
After getting all traffic lights completed, i made a small road cross with black cardboard and placed the lights. In the picture below we can see the completed system, although still mounted on an experimental board.
Embora apenas tenha construido um semáforo por rua, o circuito suporta todos os semáforos que compõem qualquer cruzamento.
Para finalizar não podia deixar de colocar um pequeno video do projecto :)


