![]() O facto de ter uma CNC disponível em casa deu-me liberdade para contruir mais facilmente e rápidamente peças que antes demorariam algum tempo a fabricar e que muito provavelmente não iriam ficar tão perfeitas. Isto fez com que novas ideias que me surgissem fossem mais facilmente postas em prática.
O facto de ter uma CNC disponível em casa deu-me liberdade para contruir mais facilmente e rápidamente peças que antes demorariam algum tempo a fabricar e que muito provavelmente não iriam ficar tão perfeitas. Isto fez com que novas ideias que me surgissem fossem mais facilmente postas em prática.
Esta foi uma dessas ideias e que nasceu apenas pela vontade de construir uma pequena réplica de uma máquina de jogos sem qualquer electronica no seu interior. No entanto, como é lógico, não iria deixar passar a oportunidade de inventar algo para instalar no seu interior.
Queria ter algo diferente e original por isso não queria ter uma mini maquina de jogos. Optei por criar uma pequena e simples estação meteorológica que mostrasse, não só valores de temperatura e humidade mas horas e se possivel algo mais...
![]() The fact of having a CNC available at home gave me the freedom to build stuff more easily and quickly than before. Without this machine parts would take some time to manufacture and most likely would not end so perfect. This caused new ideas to be easily implemented.
The fact of having a CNC available at home gave me the freedom to build stuff more easily and quickly than before. Without this machine parts would take some time to manufacture and most likely would not end so perfect. This caused new ideas to be easily implemented.
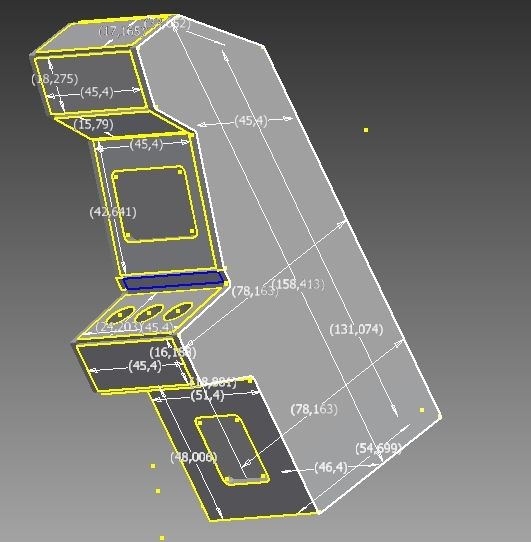
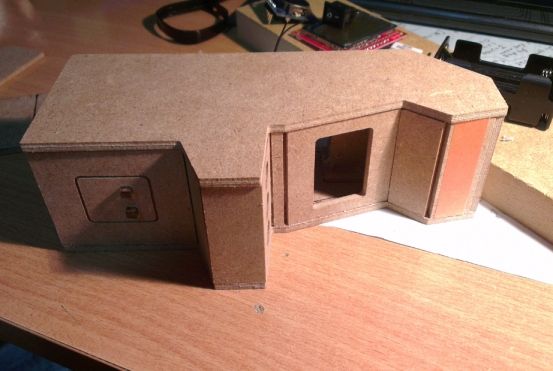
A estrutura foi inicialmente desenhada em CAD seguindo um modelo real mas reduzido a uma escala de modo a que o ecrã tivesse o mesmo tamanho do display que iria usar.
The cabinet was originally designed in CAD scaled down from a real model. The scale size was reduced so that the screen size had the same size of the display i intented to use.
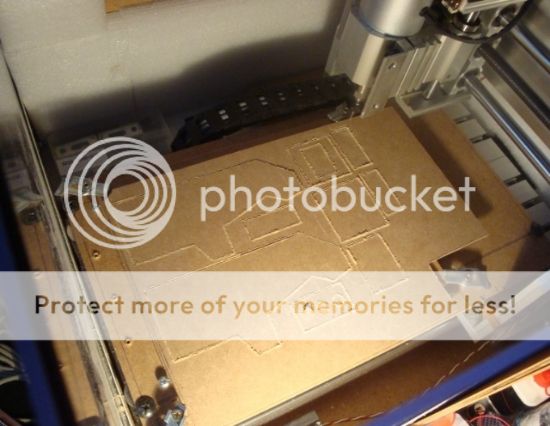
Com esse desenho individualizei cada uma das peças para possibilitar o corte e montagem.
With that cad file i then separated each piece to cut them.
Uma vez cortadas as peças na CNC, dei inicio á montagem.
Once all the pieces have been cutted i started assembling.
O display escolhido foi o do conhecido Nokia 5110/3310. Este display de 84x48 é muito vendido na ebay e a um excelente preço.
For the display i used the famous nokia 5110/3310. This is a 84x48 monochrome display and can be found cheap on ebay.
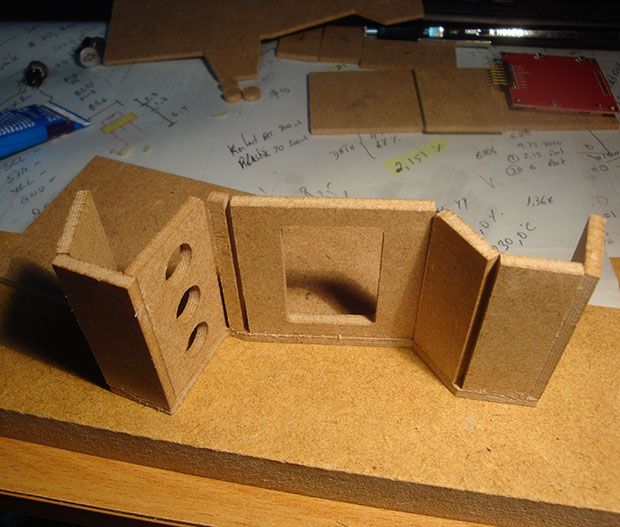
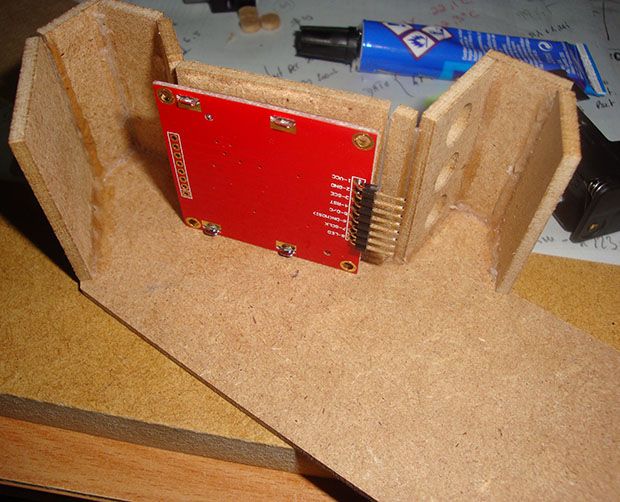
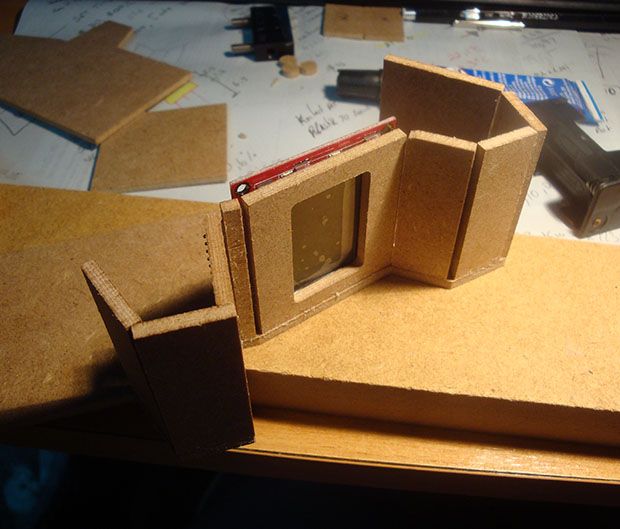
Foi ensaiada a posição do display na cabine para verificar que o desenho tinha ficado com as medidas pretendidas.
I assembled the first pieces that hold the display to test the measurements and check how it would fit and look.
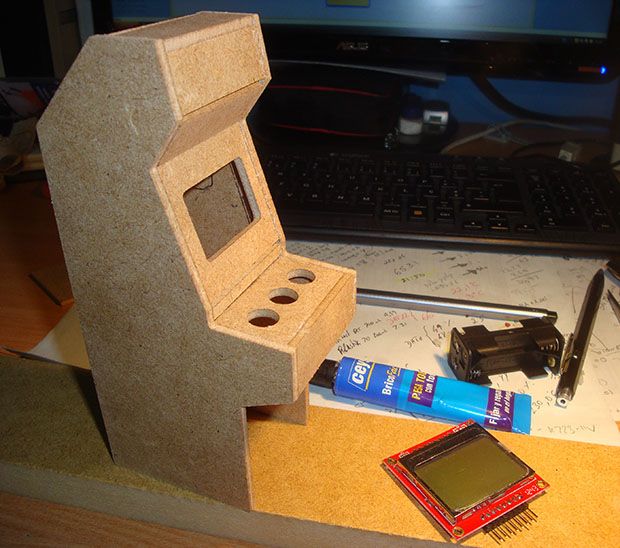
As peças frontais foram coladas directamente na peça lateral direita com cola forte para madeira.
All frontal pieces are glued on the right side panel with strong glue.
Na zona frontal onde normalmente estariam os botões e joystick, ficou com 3 furos onde ficarão 3 switchs.
The area where normally are the buttons and joystick i opened 3 holes where will be 3 tactile switches.
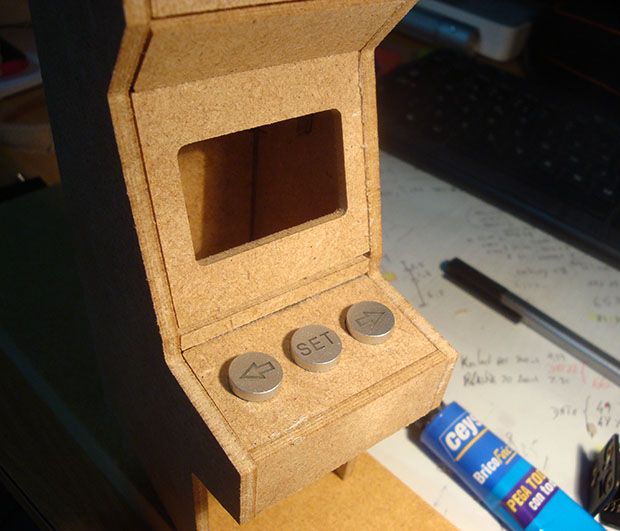
Também na ebay, consegui encontrar switchs iluminados com respectivos botões. Estes botões tinham várias inscrições diferentes mas para a cabine escolhi as setas e a palavra "SET".
Also on ebay i was able to find some iluminated switches with caps. I received several caps with diferent markings but for this assembly i decided to go with the arrows and the one with the word "SET".
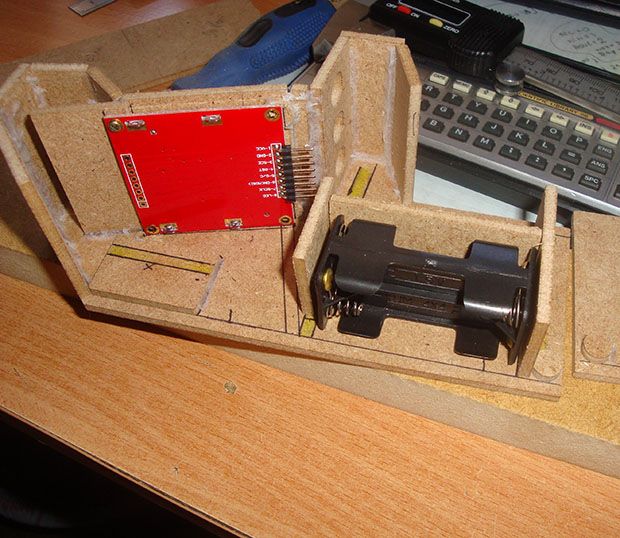
Uma vez que este projecto vai levar vários módulos independentes, foi necessário contruir no interior várias secções.
O compartimento para as pilhas é uma delas.
Since this project has alot of different modules it was necessary to create different sections.
The battery compartment was one of them.
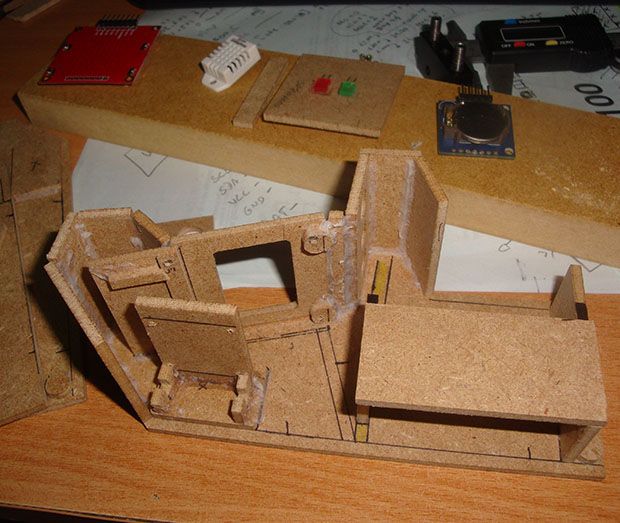
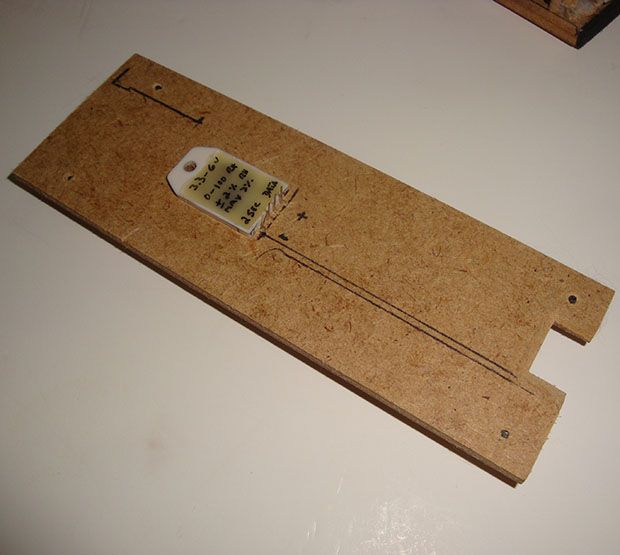
Foi construida a base para o circuito principal, a base para o RTC e alguns apoios que irão servir para fixar os módulos com parafusos.
The base for the main circuit, the RTC holder and some supports have been built. In some cases screws will be used to hold them in place.
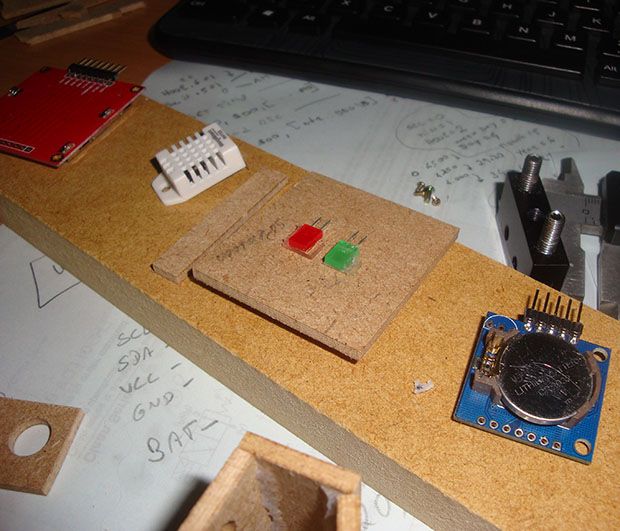
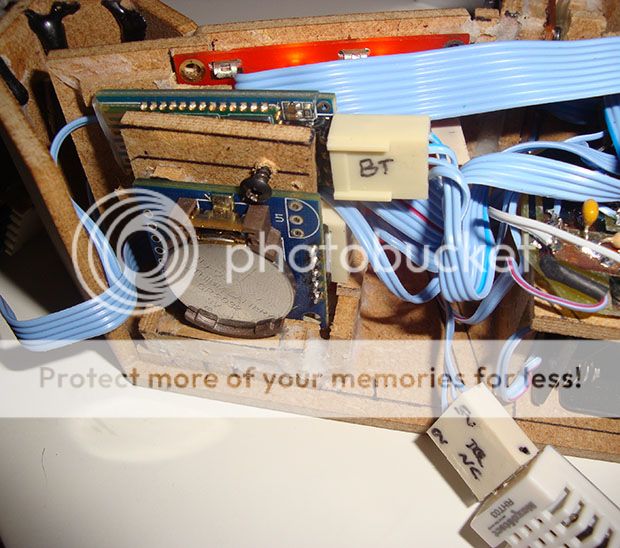
O Sensor de humidade escolhido foi o DHT22. Tanto o sensor como o módulo RTC também foram adquiridos na ebay.
The chosen humidity sensor is the also famous DHT22. Both humidity sensor and RTC were also bought on ebay.
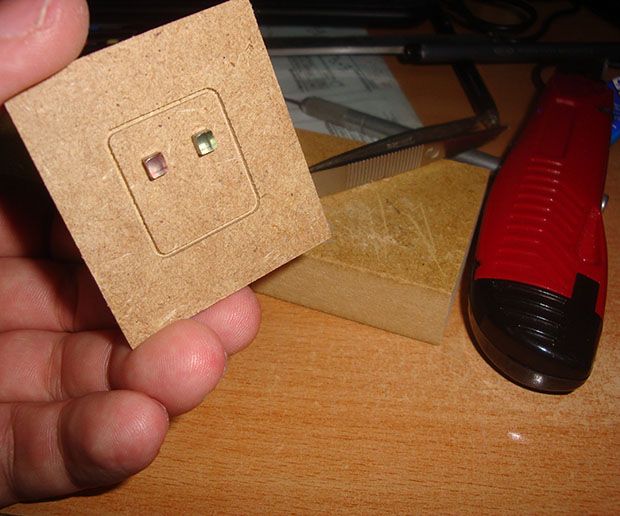
Na tampa frontal inferior, onde no modelo real se colocam as moedas, coloquei dois leds que serão usados para indicar o estado do circuito.
At the lower frontal panel, that in the real game cabinet is used to insert coins, i placed two leds that are used to indicate the status of the circuit.
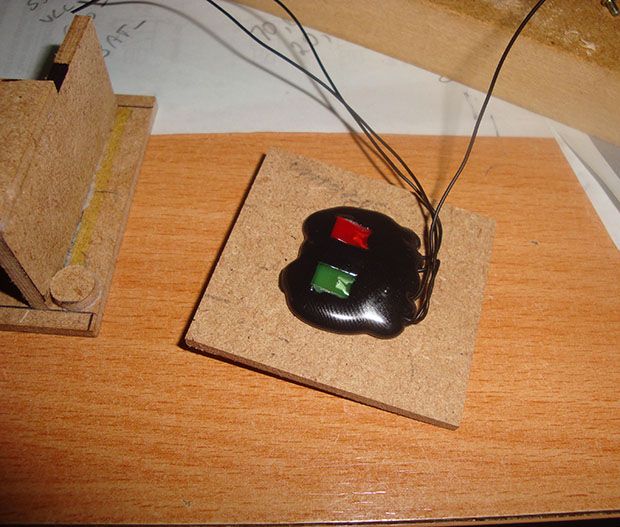
Um pouco de cola quente preta foi necessária para evitar que um led iluminasse o outro devido á proximidade deles.
A bit of black hot glue was needed to prevent light from one led to iluminate the other due to their proximity.
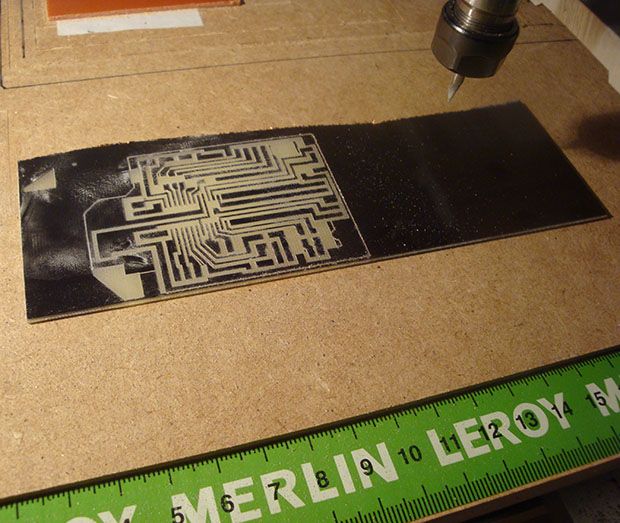
A PCB para o circuito principal foi feito na CNC. O espaço disponivel dentro da cabine não é muito logo a maior parte dos componentes teve de ser SMD.
The main circuit PCB was made with my CNC machine. There is not much room available inside the cabinet so the circuit was done using most of SMD components.
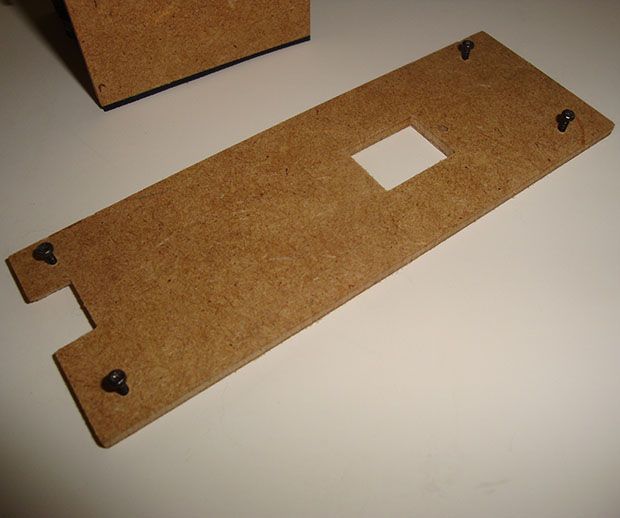
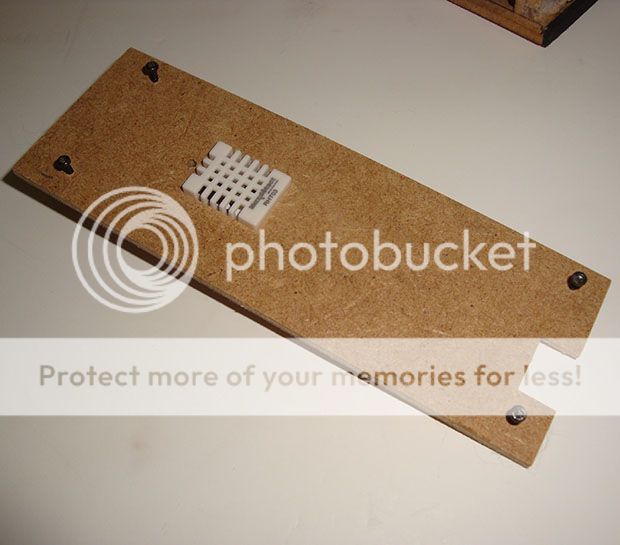
O painel traseiro tem um corte quadrado para o sensor de humidade.
The back panel has a center square hole for the humidity sensor.
O sensor é instalado pelo interior.
The sensor is installed from the inside.
Sendo o sensor instalado pelo interior, fica com um melhor acabamento no exterior.
Being the sensor installed from the inside, it will have a better look from the outside.
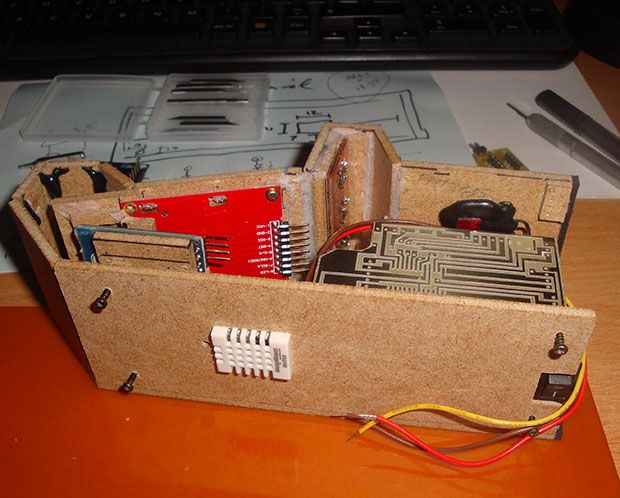
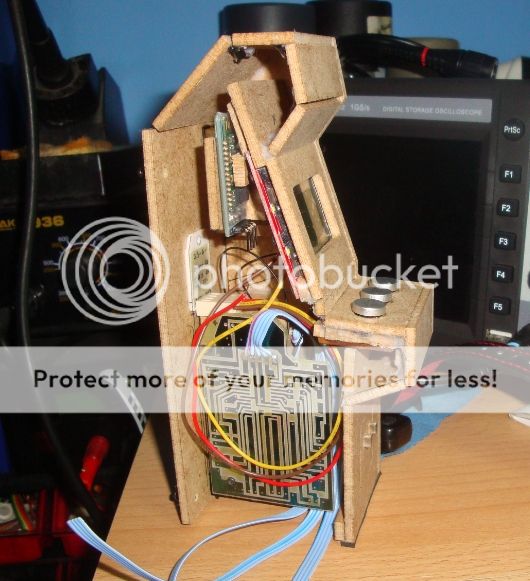
Todos os componentes cabem dentro da cabine. De seguida é necessário montar o circuito principal e criar todas as ligações com os módulos.
All the components fit inside the cabinet. Next i need to assemble the main circuit and make the modules connections.
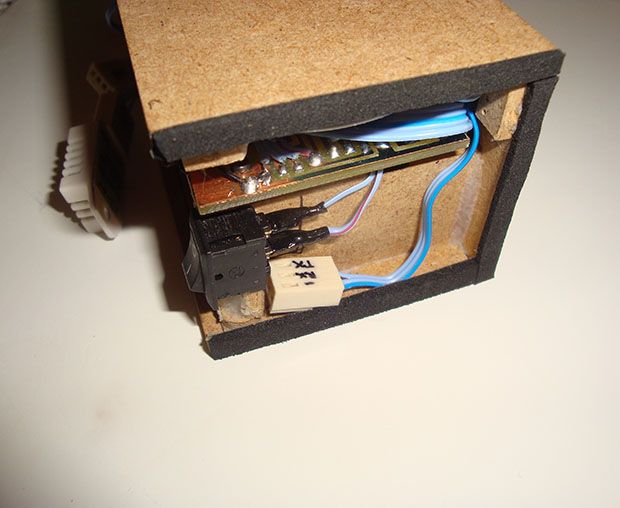
O microcontrolador usado neste projecto é o 18F2520 da Microchip. Tem 28 pinos e é na versão SOIC.
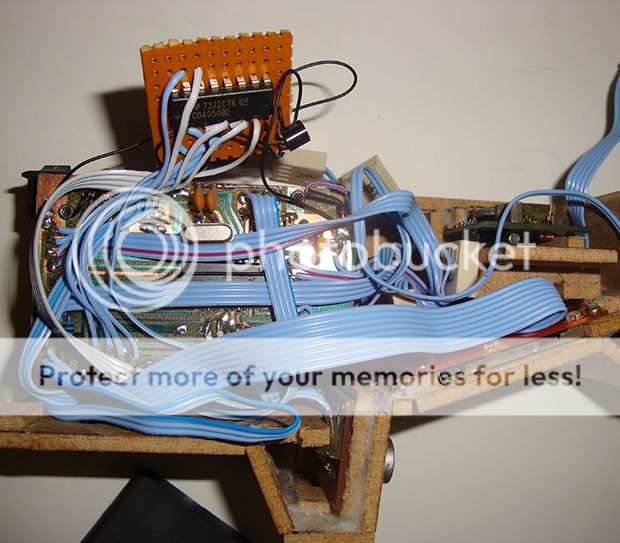
O circuito principal é alimentado a 5V, mas como o display funciona com 3V foi necessário usar um CD4050 para fazer o interface.
Porque o projecto conta com muitos módulos, são necessárias várias ligações com flat cable e com isso a arrumação é complicada.
The Microcontroller used in this project is a 18F2520 from Microchip. It is a 28 pin MCU in a SOIC package.
The voltage for the main circuit is 5V and the display is 3V so i had to use a CD4050 as a level shifter.
Because there are so many modules, alot of connections are needed. I used flat cables but its not easy to root them nicelly.
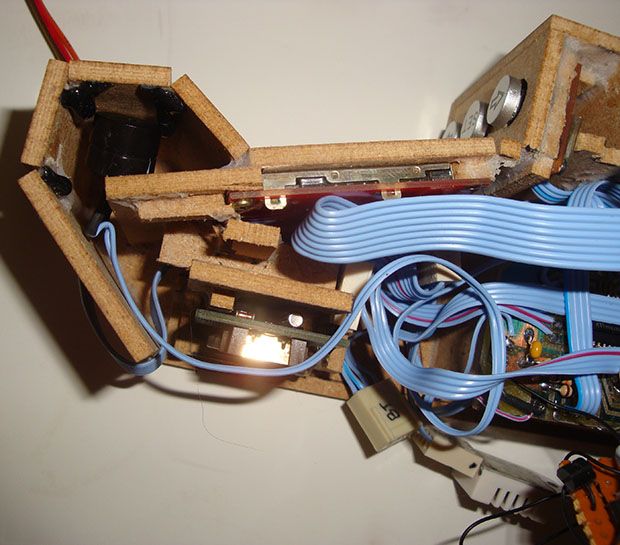
O piezo ficou instalado no topo da cabine.
The piezo was installed on top of the cabinet.
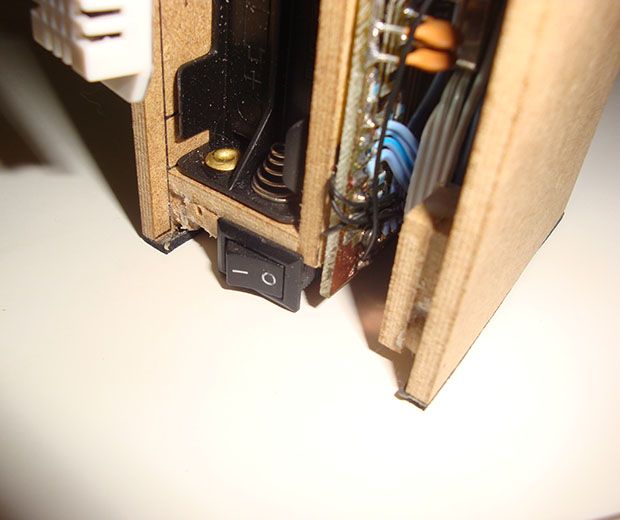
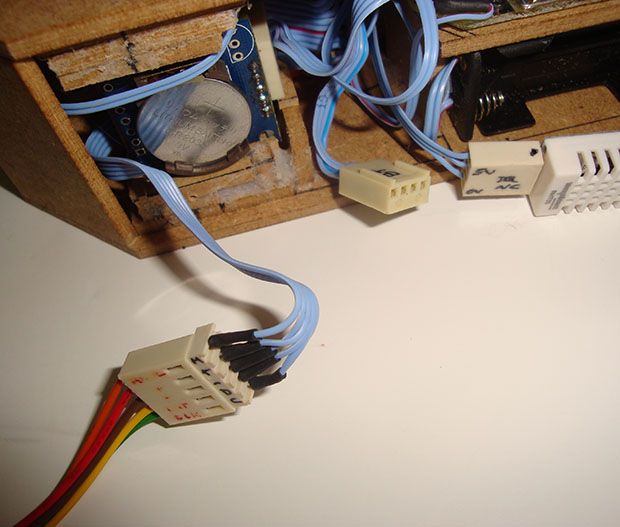
No fundo está o botão on/off e uma ficha molex para uma ligação série RS232.
At the bottom is the on/off switch and also a molex connector for serial RS232 connection.
O botão in/off fica discreto na traseira da cabine.
The on/off switch is hidden on the bottom facing the back.
Como não poderia faltar, existe uma ficha ICSP para facilmente ligar o microcontrolador ao programador e actualizar o firmware.
Este vai ser um projecto para ir sendo actualizando. Neste momento está numa fase simples mas funcional. Quero, no entanto, adicionar mais funcionalidades e melhorar o look e menu do display.
Of course i had to have an ICSP connection to easily connect to the microcontroller programmer and update the firmware.
This is not a finished project and my intention is to keep working on it. At this point the project is simple but in a functional stage. I want, however, to add more features and improve the look and display menus.
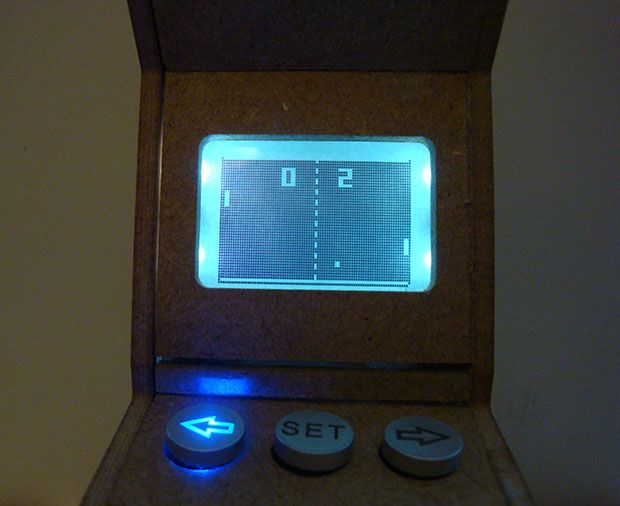
Ao ligar o circuito, o display inicializa com a imagem do famoso jogo PONG.
Turning the power on, the display initializes with an image of the famous PONG game.
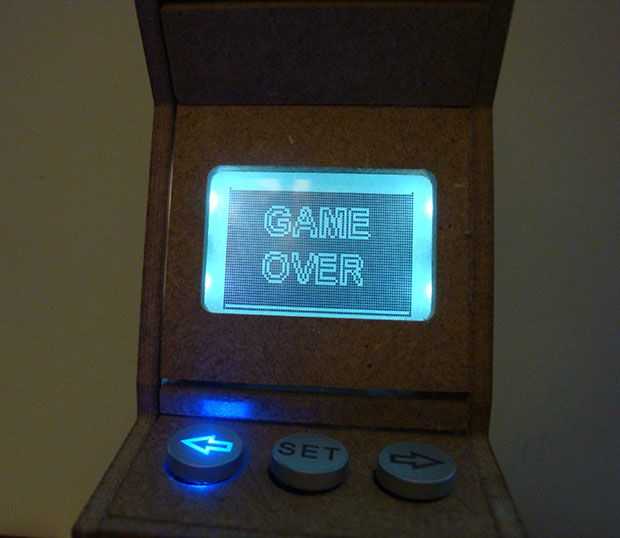
Os botões piscam a o display passa para uma imagem de fim de jogo.
The buttons then blink and the display changes to a game over image.
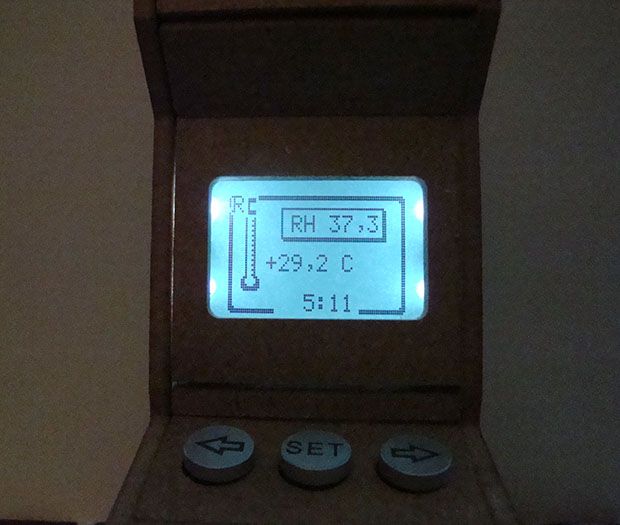
Uns segundos depois a inicialização termina e o display mostra a humidade, temperatura e horas.
A few seconds later the initialization ends and the display will output the humidity, temperature and time.
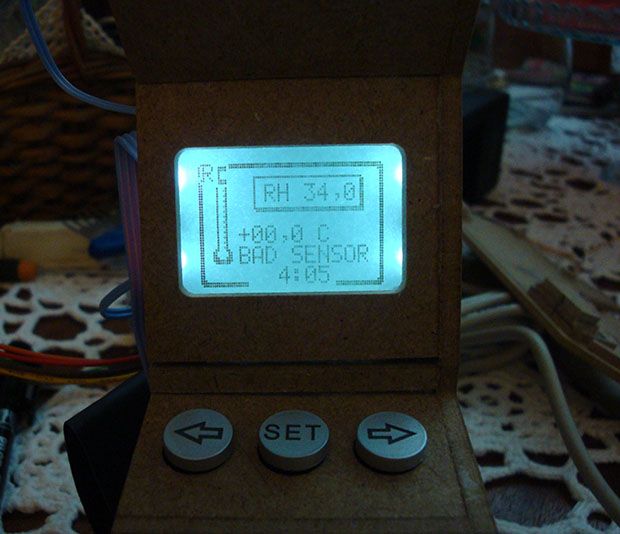
O firmware está preparado para indicar se o sensor tiver algum problema e a mensagem irá aparecer no display.
The firmware is ready to detect any problem with the humidity sensor and if a problem is detected the display will indicate it.
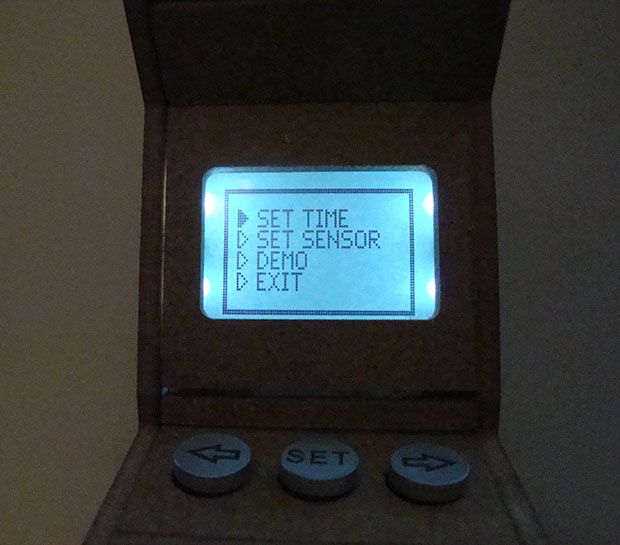
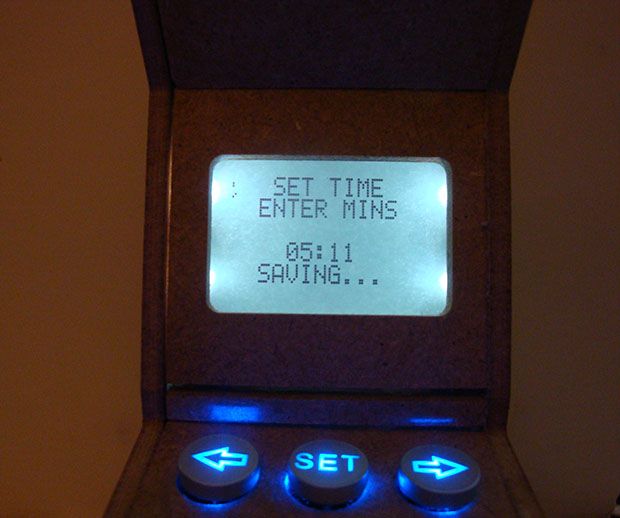
Carregando no botão "SET" entra no menu. Neste menu é possivel acertar as horas, escolher o tipo de sensor e entrar numa pequena demonstração.
Pressing the "SET" button it will go into the menu option. In this menu it's possible to set the time, choose the sensor type and also see a small demo.
O circuito usa um RTC 1307. Depois de inserida a hora correcta, é gravado no RTC sempre no formato 24H
The circuit has a 1307 RTC inside. After choosing the correct time it will record in the RTC always in the 24H format.
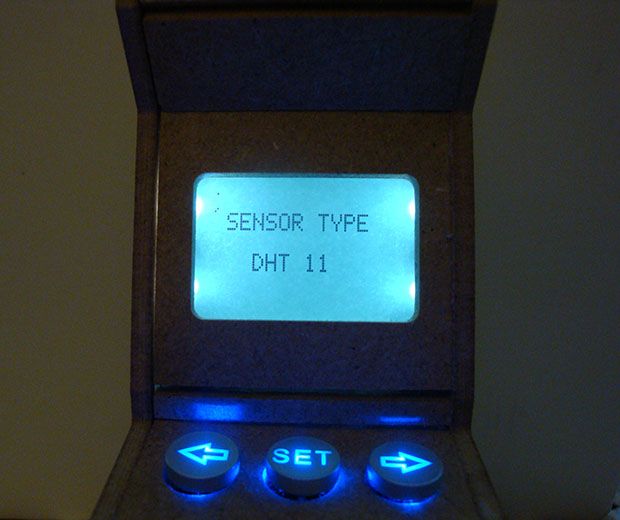
Também é possivel escolher o sensor de humidade entre os modelos DHT11 e DHT22.
It is possible to select the humidity sensor from the models DHT11 and DHT22.
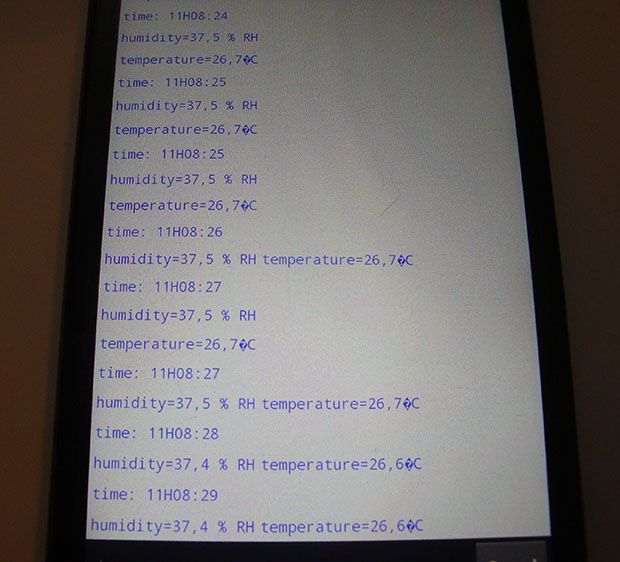
Uma vez que o microcontrolador tem bastantes pinos aproveitei e também adicionei um módulo Bluetooth. Com este módulo Bluetooth consigo enviar os dados de temperatura e humidade para um computador ou telemovel via wireless.
Since the microcontroller has enough pins i decided to also add a Bluetooth module. With this Bluetooth module it can send the data of temperature and humidity to a computer or mobile phone wirelessly.
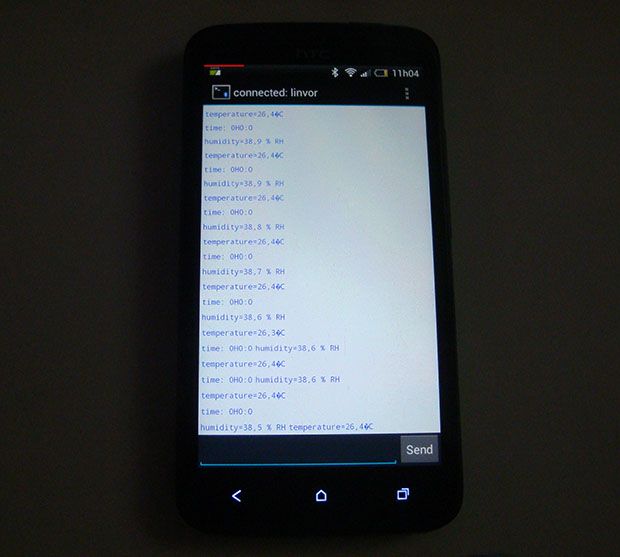
Em qualquer altura posso aceder ao valores com o telemovel. Para isso basta instalar uma app chamada "Bluetooth terminal" ( disponivel para android gratuitamente no google play ).
Faz-se o emparelhamento com o módulo, que no meu caso é o modelo Linvor e automaticamente começa a receber os dados.
At any time it is possible to access the values with the cellphone. To do this i just installed an app called "Bluetooth terminal" (available for free on android google play).
Pairing it with the module, which in my case is the Linvor model it automatically starts to receive the data.
Existem várias apps gratuitas no google play para recepção de dados via bluetooth. Algumas delas permitem criar um ficheiro de registo de dados.
There are several free apps on google play for receiving data via bluetooth. Some of them allow us to create a data log file.
Como referi anteriormente, este projecto não está finalizado e pretendo melhorá-lo com calma.
Algumas das funcionalidades que tenho planeadas são melhorar o ambiente gráfico e adicionar algum tipo de animação.
Vou também adicionar a indicação de valores máximos e mínimos e também a opção de um sensor de temperatura externo.
Like i said before, this is a work in progress and is my intention to keep working on this project to improve it.
Some of the features i have in mind is to give a better look at the menus and maybe add some kind of animation.
I will also add the indication of the max and min values and also an option to have an external temperature sensor.
Como sempre deixo um pqueno video da cabine a trabalhar.
As usual, here is a small video showing the cabinet working.


